


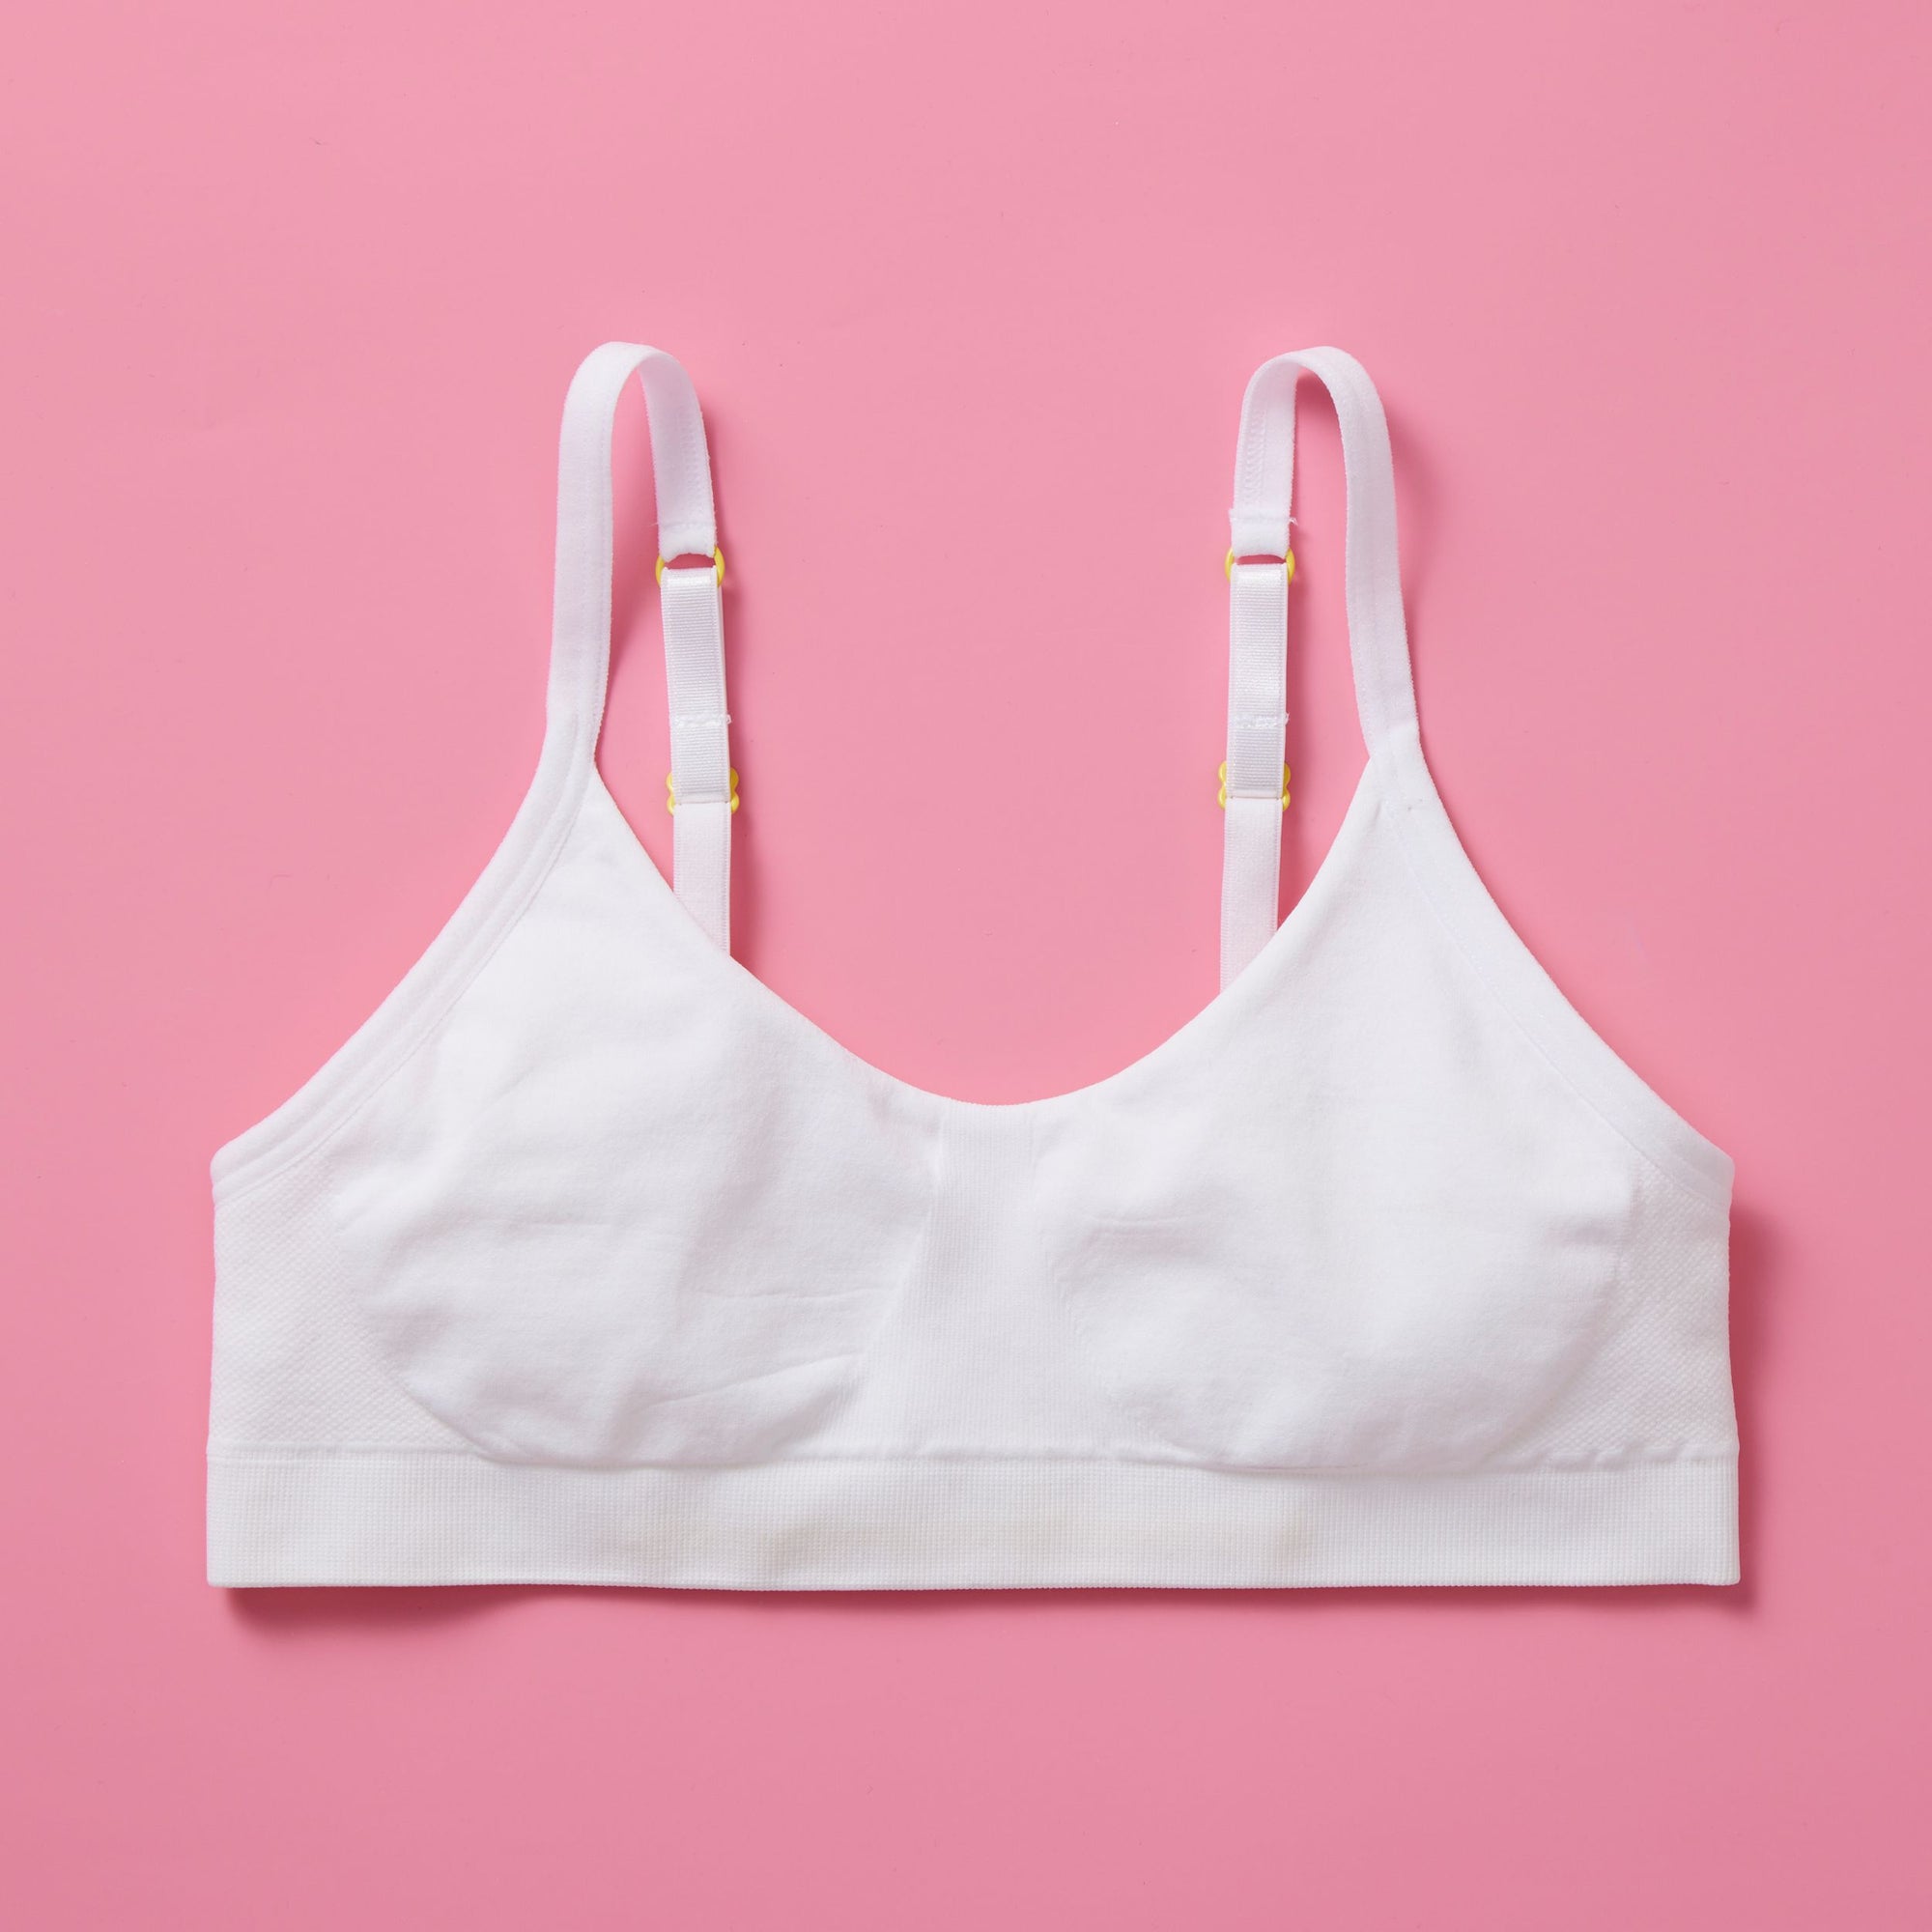


Engaging in a DIY project with your teen daughter can be a great way to spend quality time together. Making a DIYcamisole for girls does more than teach her the basics of sewing and garment construction, it's a chance to bond, share laughs, and make lasting memories.
Materials You'll Need
Gather the following materials before you get started:
- A sewing machine or needle and thread
- Fabric of choice (soft materials like silk, satin, or cotton are recommended)
- Elastic for straps and bust support
- Scissors
- Measuring tape
- Pins
- Lace, beads, or other embellishments are fun, but optional.
Easy Steps for Assembling
Next, follow these steps to put the camisole together:
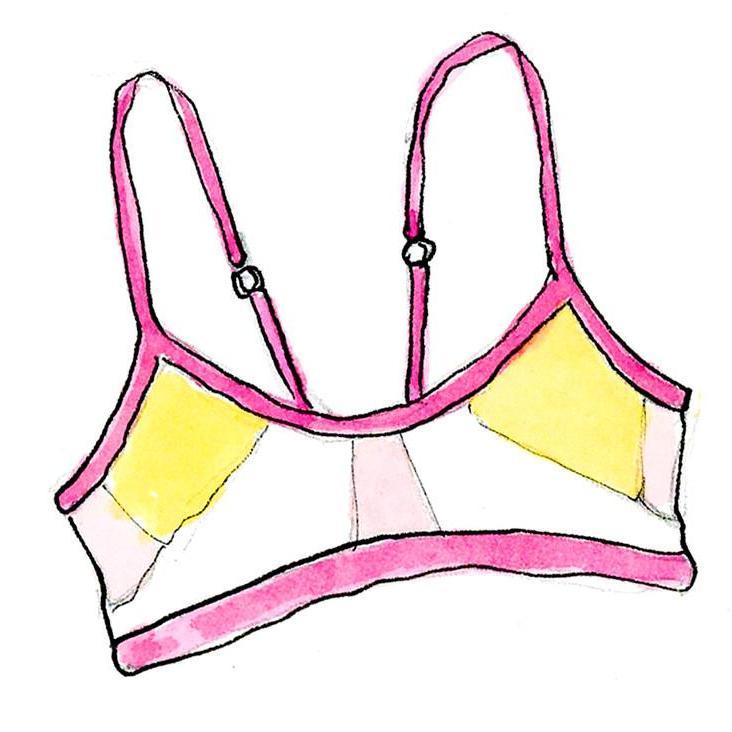
Step 1: Plan the Design
Kick things off by talking about what you both envision for this camisole. Start by thinking ofideas for wearing camisoles. Is your daughter into solid colors right now, or is she all about those funky patterns? Maybe she wants to jazz it up with some cool lace or sparkly beads. Get creative and sketch your ideas on paper, or go digital and make a Pinterest board filled with styles that catch your eye.
If you’re making a camisole she wants to wear at school, go for something comfy and cute like cotton. If she wants one that doesn’t easily crease, opt for fabrics like polyester blends or silk. One of the mosteffective techniques to keep your camisoles wrinkle-free is incorporating a light interfacing or lining that can lend structure to make them less prone to wrinkling.
Step 2: Measurements and Cutting
Use a measuring tape to get the correct measurements for the camisole's bust, waist, and length. Add an extra inch or so around the edges to allow room for seams and any needed adjustments. After you've double-checked your marks, go ahead and carefully cut out the fabric pieces. This step may be straightforward, but it's worth doing carefully to ensure the fit of the final product.
Step 3: Pin and Sew
Use plenty of straight pins to attach your fabric pieces together, with the right sides facing each other (the more pins, the easier it will be to sew). Consider using safety pins in places where you're leaving space for elastics. This will serve as a visual reminder not to sew these areas shut.
As you both take turns sewing, either by hand or with a machine, maintain a uniform seam allowance as you go along. Consistency is key for a professional-looking finish.
Step 4: Add Straps and Elastic
Measure and cut the elastic for the straps and bust support. The length of the elastic is crucial–too tight, and it will be uncomfortable; too loose, and the camisole will lack the needed support.
Before you cut, wrap the elastic around the area where it will go (like the bust or the straps). Then, stretch it slightly to see how it feels. It should feel snug but not constricting. Always cut a little extra elastic than you think you'll need. You can always trim the excess later, but adding more after the fact is challenging.
Elastic should be sewn using a zig-zag stitch. If your daughter is new to sewing, explain why this stitch type is important for areas of fabric that will stretch. A straight stitch could easily break when stretched. If you're sewing by machine, consider placing a piece of tissue paper underneath the elastic to prevent it from sticking to the machine. Tear it away gently when you're finished.
Step 5: The Final Touches
Before attaching any embellishments, lay them out on the camisole to get an idea of how they will look. Take a step back to assess the design, and snap a quick photo with your phone for reference.
If you're using fabric glue for certain embellishments, test it on a scrap piece of your camisole's fabric first. This ensures that the glue won't cause discoloration or damage to the material. For attaching items like beads, try your method on some fabric scraps to get the technique down before moving on to the actual camisole.
Admire and Wear Your Creation
Once everything is sewn and the embellishments are added, it's time for the big reveal. Have your daughter try on her new, handmade camisole, and celebrate your successful crafting endeavor with some well-deserved mom-and-daughter selfies.
Of course, DIY projects take a lot of time and effort. If your daughter isn’t up for the challenge, Yellowberry has you covered with high-quality camisoles that stand up to the challenge of your daughter's active and varied lifestyle. Shop our collection today!